ATTENTION: This post is obsolete. It is being kept on the blog for historical purposes only.
The Library recently responded to the increased use of web-enabled smartphones and tablet computers on campus by re-designing our website to optimize the viewing and use experience of our students and faculty. This is an exciting development, of which we are very proud.
The increased use of mobile devices on campus and in the Library has also resulted in requests from students such as: “I want to print a document from my iPad, but I can’t find the printer on the network. How do I go about doing this?”
Printing from a mobile device differs from printing from a laptop or desktop computer because there is no way to install printer drivers into the operating system on your mobile device. Printing has to be enabled through a separate mobile application (app) that you download and install onto your device. There are many printing apps available for various mobile operating systems (e.g., Apple’s iOS, Android, Blackberry, etc.). Some are paid, but many are free (more on this below). The app will typically support a list of compatible printers. You first configure the app to communicate with a compatible printer that is discoverable on your network via wi-fi from your device. You then link the app to an email account (to which you send documents you want to print as email attachments), or a web-accessed cloud storage service (e.g., Dropbox).
Because we use HP printers in the Library, I am going to tell you about a free printing app from HP that works remarkably well. I will walk you through the installation and printing process using an Apple iPod touch as my demonstration device (the steps may differ slightly on an Android or Blackberry device).

 Step 1: Get the Free HP ePrint App
Go to HP’s Mobile Apps page and look for the HP ePrint app for your device’s operating system. For convenience, I have included links to the HP ePrint app download and use pages on HP’s site (right-click on the app icon to open in a new window or tab). Since I am demonstrating this process on my iPod touch, I searched for “HP ePrint” in the iTunes App Store on my device, and downloaded it directly.
 Step 2: Launch the HP ePrint App
Once the app is installed on your device launch it. The first time you launch the app you will see a series of help screens. You can dismiss these if you’d like. The app home screen looks like this screenshot on my iPod. Notice the “No printer found: Tap here to select a print” message. Notice also the “Activate” button. It doesn’t matter which action you do first. However, you must be connected to the wireless network before you attempt either action.
 Step 3: Locate and Add a Printer
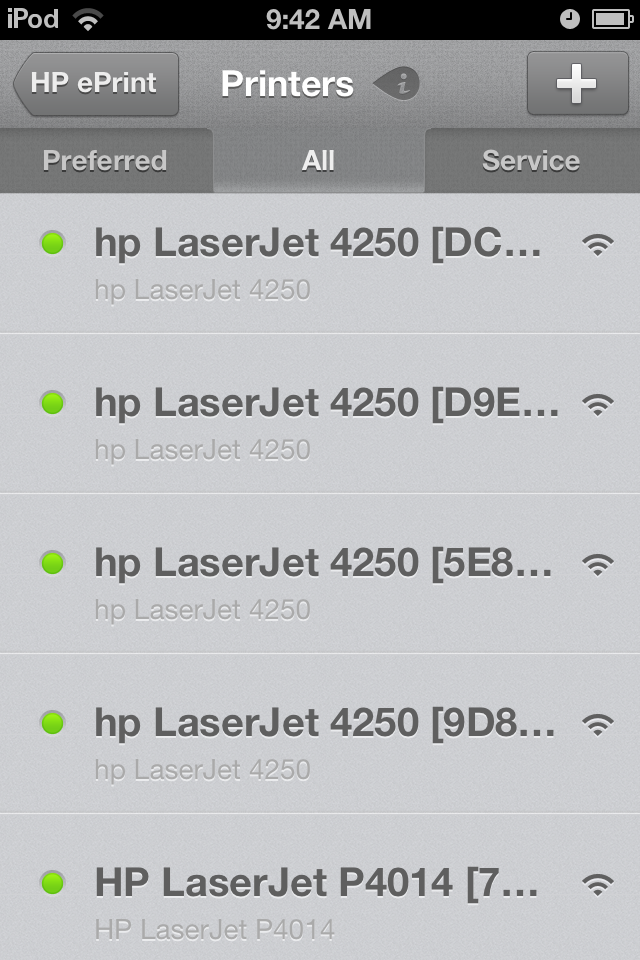
I have chosen to find a printer first by tapping “select a printer.” Here is a screenshot showing a list of available and compatible HP printers on the Milligan College wireless network. Notice that available printers have a green light. If the printer is not available the light will be grayed-out. (Remember, this app only works with compatible HP printers. It will not support printers manufactured by other companies.)
Selecting a printer from this list is a little tricky. First, make sure you are viewing the list of printers under the “All” tab. The HP printers in the Library are LaserJet 4250s, and there is one on each floor. The app has identified several printers of this model. However, it doesn’t tell you where the printer is located. It only provides a printer code in [square brackets]. Further, on my iPod screen I can’t even see the entire code. However, once you know which printer is which it is fairly easy to select the right one because the codes are unique. Here is the list currently (Note: if/when any of these printers are replaced these codes will likely change. We will update information at that time):
- Library First Floor is [D9E82C]
- Library Second Floor is [DCD99E]
- Library Basement Floor is [5E8812]
You can add one or all of these printers from the list. However, you can only add printers one at a time, and you have to have actually printed (Step 5) from each printer at least once before it is added to your “Preferred” list. To see all printers you have printed to tap on the “Preferred” tab. In the “Preferred” list the currently active printer is highlighted in blue. Change the printer you want by tapping on it.
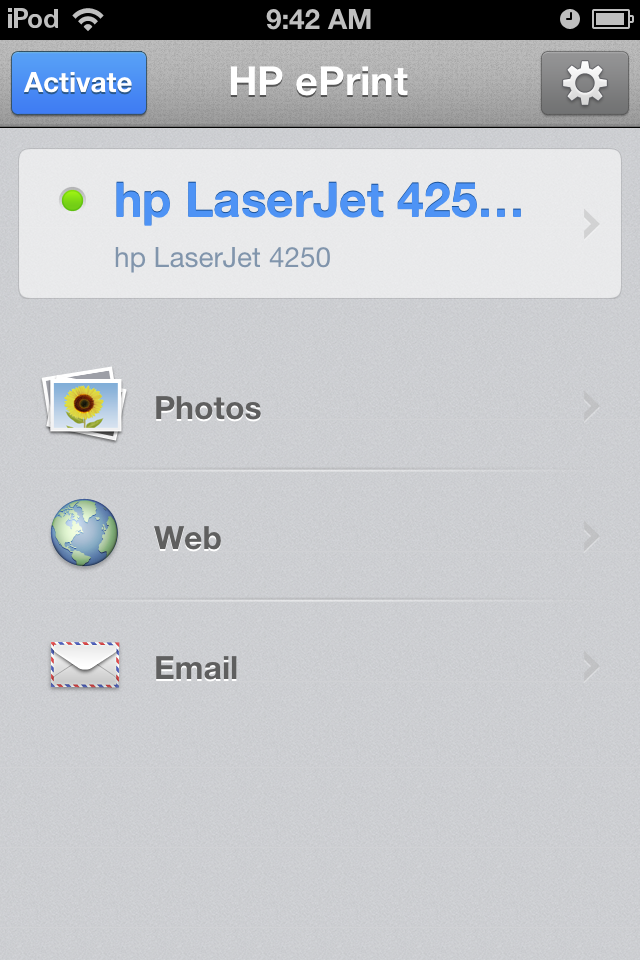
For this demonstration I have selected the Library Basement printer [5E8812] by tapping on it. Once selected, the app returns to the home screen. Notice the light is green. But I cannot print to it until I Activate my ePrint account.
Step 4: Activate Your ePrint Account 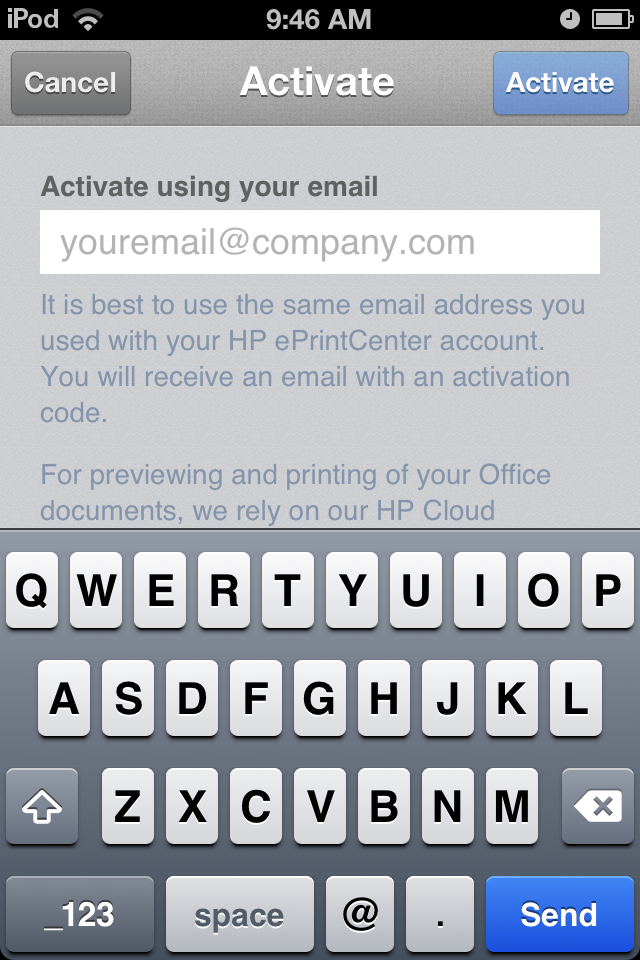
Tap the blue “Activate” button. This will take you to a screen (right) where you will enter an email address. Enter an email address you routinely use and tap the “Activate” button. The ePrint app will move to another screen where you will enter an activation code. The HP ePrint Center will send this activation code to the email address you entered in the previous screen. Check your email for a message from hpeprint.com with the subject line “ePrint mobile registration.” Open this email and enter the 4 character PIN code provided in this email. You have successfully activated your HP ePrint app!
Step 5: Printing from Your Mobile Device Using the HP ePrint App
When you return to the home screen you will notice three options listed below the selected printer: Photos, Web, and Email. For routine printing in the Library you will select either Web or Email. The Web option is for printing documents you have previously uploaded to a cloud storage service such as Dropbox. The Email option is for printing documents you have previously attached to an email message. To print a document from a cloud service just browse to and login to that service from within the HP ePrint app (see Step 7). To print a document that you attached to an email message you will need to log into your email account from within the HP ePrint app (see Step 6).
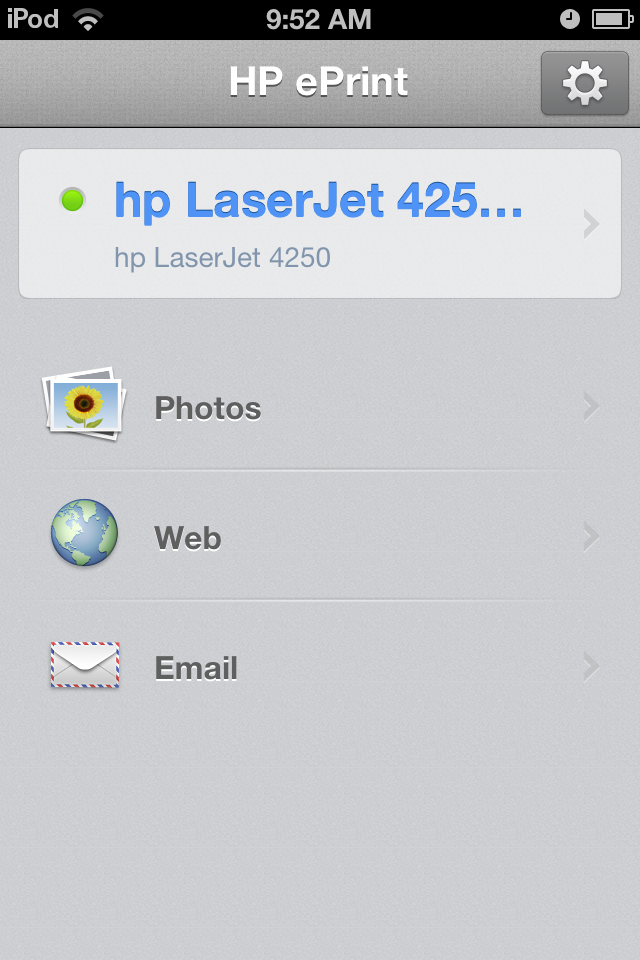 Step 6: Printing a Document in HP ePrint Attached to an Email Message
The screenshot at left shows the HP ePrint home screen with the Library Basement printer selected. Notice the “Activate” button no longer displays. Tap Email. In order to print from an email you first need to login to an email account. The first time you select the Email option you will be presented with the screen (right) with several popular email service options, or select “Other.” This will take you to a screen where you fill-in email address and password, etc. You can add more than one account. Accounts will be remembered within HP ePrint.
Attach a document you want to print to an email message. HP ePrint supports Microsoft Office (Word), PDF, and text documents. Send this message to yourself. Launch the HP ePrint app, select your printer, and tap the Email icon. Select the email account you previously registered and browse to the message and open it. Notice the attachment at the bottom of the message. Tap on the attachment to open it. The document will open with a large “Print” button at the bottom. Tap “Print”. The screen will show a progress bar as the document is sent wirelessly to the printer. You will receive a “Success” screen when the document has been successfully printed. Tap “Done,” and retrieve the document from the printer.
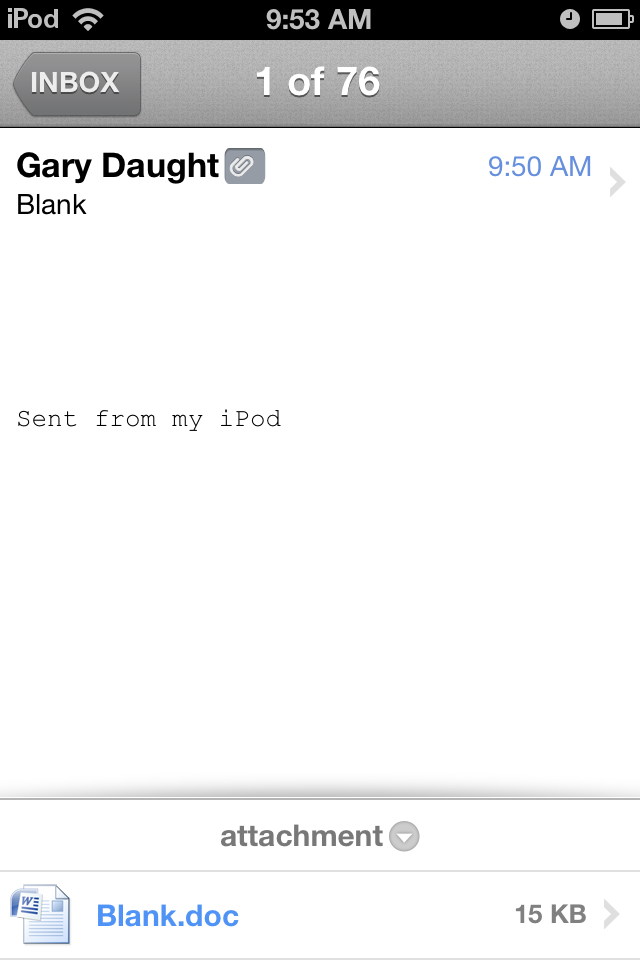
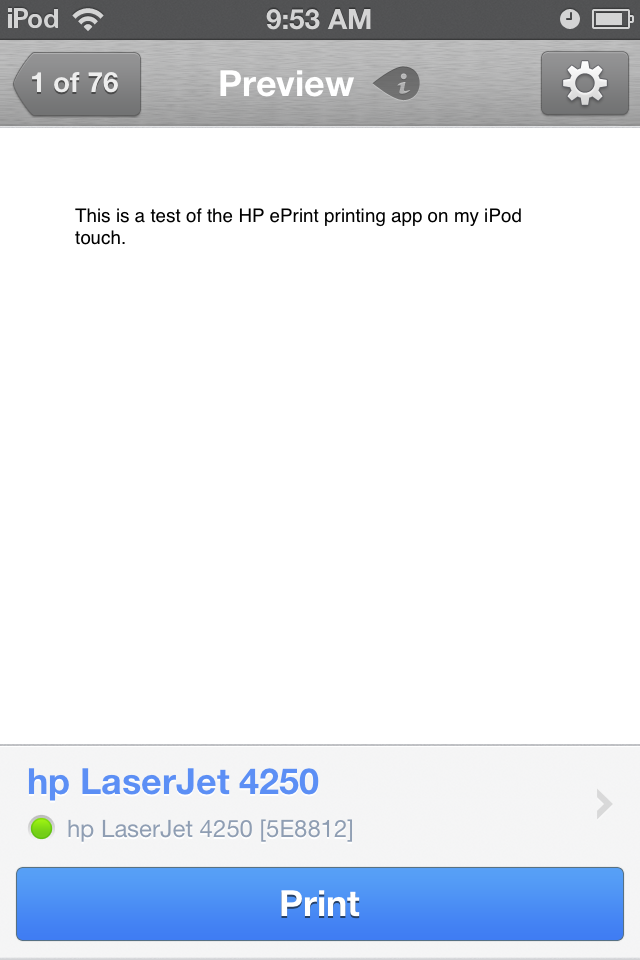
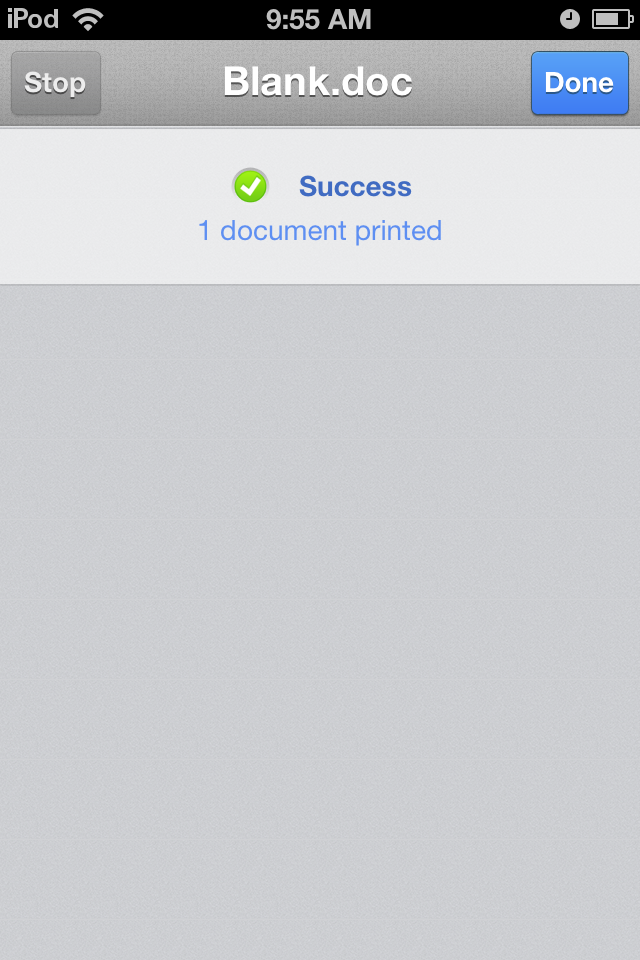
Incidentally, you can also just print an email message without an attachment by opening the chosen email as before, and then tapping on the email preview to bring-up the “Print” dialog.
Step 7: Printing a Document in HP ePrint from a Cloud Storage Service
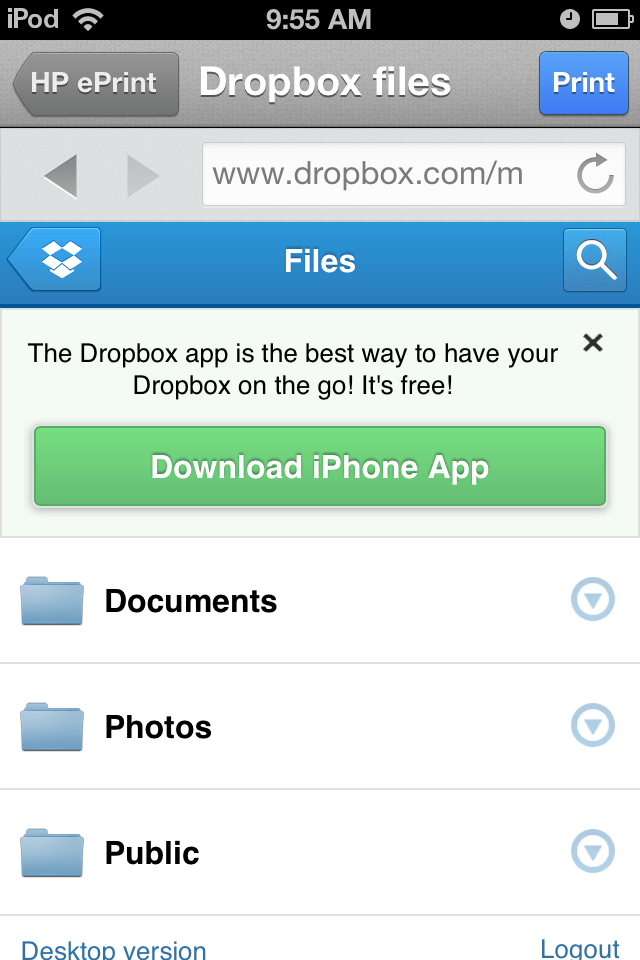
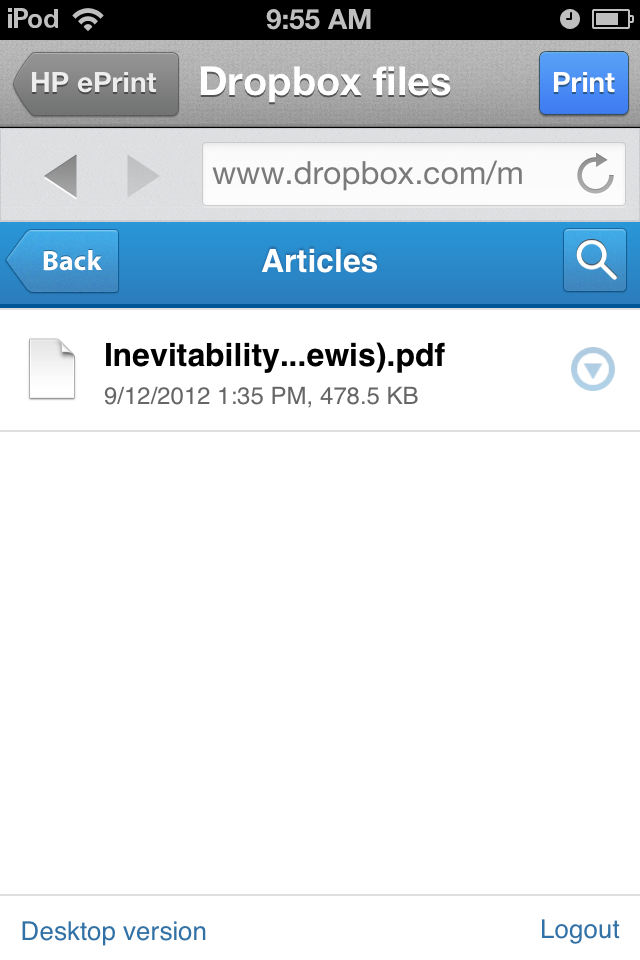
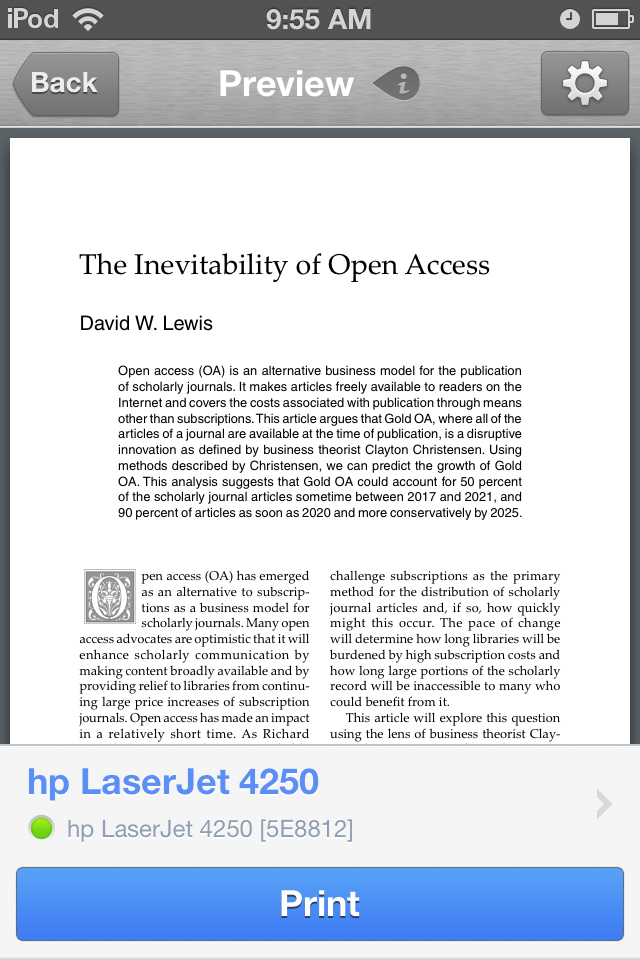
If you have an account with a cloud storage service, such as Dropbox, you can easily browse to the service from the built-in web browser in the HP ePrint app. From the app home screen, select your printer and tap the Web icon, type-in the URL to your cloud service and login. Browse to the folder where the document you want to print resides. Tap the document to launch it. Exactly as before, the document will open with a large “Print” button at the bottom. Tap “Print”. The screen will show a progress bar as the document is sent wirelessly to the printer. You will receive a “Success” screen when the document has been successfully printed. Tap “Done,” and retrieve the document from the printer.
This printer utility app adds remarkable functionality to your mobile device. It’s a great complement to the enhanced mobile experience we have provided with our mobile-ready website. We encourage you to give this app a try. Once you get used to using this app with the Library printers, you can use it on other compatible HP printers elsewhere on campus. Feel free to speak with a librarian if you need assistance.


