In my previous post, I described the procedure for downloading EBSCOhost e-books to your computer for offline reading. In this post I will describe how you can transfer a downloaded book to a mobile device–a smartphone, tablet computer, or dedicated e-book reader.
Before proceeding, make sure that you have successfully completed all the steps described in my previous post and listed here:
- You have created an Adobe ID
- You have downloaded and installed the Adobe Digital Editions application software on your computer
- You have created a My EBSCOhost account, and
- You have downloaded an EBSCOhost e-book into Adobe Digital Editions
Adobe Digital Editions negotiates copy protection for EBSCOhost e-books on your computer or your mobile device. In order to successfully transfer an EBSCOhost e-book to a mobile device that device must either natively communicate with Adobe Digital Editions when attached to your computer, or allow the installation of an application that can communicate with Adobe Digital Editions on its behalf. Dedicated e-book readers such as the Barnes & Noble Nook, Sony Reader, or Kobo eReader support Adobe Digital Editions natively. Unfortunately, Amazon E-Ink Kindles do not currently provide support for Adobe Digital Editions. Many smartphones and tablets, including Apple iOS devices (iPhone, iPod touch, iPad) and Android devices (including Amazon Kindle Fire tablets with some special tweaking), work with Adobe Digital Editions through a third-party application that can be installed on the device. I will describe the transfer procedure on a Barnes & Noble Nook and an Apple iPod touch. The specific procedure for your device may differ from these, but the following instructions will give you a good idea for what is involved. Please contact a librarian if you would like assistance, or if you run into any difficulty.
Transferring an EBSCOhost e-book to a Barnes & Noble Nook Simple Touch e-reader
Step 1: Authorize the device in Adobe Digital Editions
Launch Adobe Digital Editions on your computer then attach your e-reader device to your computer with the supplied USB cable. Adobe Digital Editions should automatically detect a compatible e-reader. You will be prompted to authorize the use of the device with Adobe Digital Editions (which may include entering your Adobe ID). In this screenshot notice “NOOK” is detected under Devices in the left column:

Step 2: Drag an e-book to your device
To install an e-book to the device simply select the desired title from the Bookshelf in the right column and drag it onto the device icon as shown here:

Step 3: Open and read the book on your device
Adobe Digital Editions will notify you when the e-book installation is complete. Eject the device from your computer. Browse and launch the e-book from the device’s book Library. Start reading!

Step 4: Remove an expired e-book from your device
As with EBSCOhost e-books originally downloaded to your computer, when the checkout period expires you will no longer be able to open the book on your device. At this point, you may choose to delete the expired file from your device’s book Library. Re-attach the device to your computer, launch Adobe Digital Editions, highlight “NOOK” under Devices in the left column, select the expired title from the Bookshelf in the right column, Control-Click the book icon and select “Remove from Library” from the drop down menu.
Transferring an EBSCOhost e-book to an Apple iOS or Google Android device
Unlike the previous procedure where a compatible dedicated e-reader (like the Barnes & Noble Nook Simple Touch) is immediately recognizable by Adobe Digital Editions when connected to your computer, transferring EBSCOhost e-books to a smartphone or tablet requires a separate application capable of communicating with Adobe Digital Editions and serving as a book reader. You also need a transfer method that the reader application can understand.
As with downloading EBSCOhost e-books to your computer, the procedure for preparing your mobile device for transferring e-books is a bit complicated. However, you shouldn’t have too much trouble if you follow these instructions closely. The first three steps only have to be done one time. Feel free to contact a librarian if you would like assistance, or if you run into any difficulty. (Note: Amazon’s Kindle Fire is an Android-based tablet. However, installation of applications on this device is a bit more complicated than most. Special instructions are at the bottom.)
Step 1: Create a Dropbox account
 You need a fairly easy and straightforward way to transfer a downloaded EBSCOhost e-book in Adobe Digital Editions on your computer to your mobile device. Dropbox is a handy cloud storage service that can be used to facilitate this transfer. Go to http://www.dropbox.com to create a free account. (The free account comes with 2 gigabytes of storage–more than enough for routine e-book file transfers.) Write down your Dropbox email address and password.
You can use the Dropbox web interface on your computer to facilitate file uploads to your account, or you can download a dedicated desktop application (for Windows or Mac). However, it is strongly recommended that you download and install the mobile version of the Dropbox application to your mobile device (choose the appropriate version here). You only have to do this step once.
Step 2: Download and install Bluefire Reader to your device
The process for transferring EBSCOhost e-books to a compatible Apple iOS or Google Android device requires that you first download and install an application that can be authorized to communicate with Adobe Digital Editions and function as a book reader. Bluefire Reader is a free application that is excellent for these purposes. You can use Bluefire Reader to open PDF and EPUB files on your mobile device. Download and install the Apple iOS or Google Android version as appropriate. You only have to do this step once.
Step 3: Launch and authorize Bluefire Reader on your device
I am using Bluefire Reader on an Apple iPod touch here. Launch Bluefire Reader on your device and select “Info” from the application menu. Tap the “Authorize” button in the Enable Adobe eBooks box. This will bring up a screen for entering your Adobe ID account information. Tap “Authorize.”


Your device is now authorized to open and read e-books downloaded to Adobe Digital Editions on your computer. You only have to do this step once.
You now have everything in place to transfer and read EBSCOhost e-books on your mobile device. Let’s transfer an e-book now!
Step 4: Upload an EBSCOhost e-book to your Dropbox account
a) Go back to your computer. I downloaded a new e-book from EBSCOhost into Adobe Digital Editions following the instructions in Step 4 from my previous post. The process went much smoother the second time around!

b) Although the e-book loads into Adobe Digital Editions, the e-book file is actually stored in another folder on you computer. On a Windows PC browse to this folder is called “My Digital Editions,” which is located in your “My Documents” folder. Notice the e-book file titled “The Autobiography of Charles Darwin” (Note: Although the file is a PDF, it will not open as normal in Adobe Reader because it is copy-protected. Adobe Digital Editions registered with your Adobe ID enables you to open this copy-protected file.):

On an Apple Mac computer, the same file is found in the “Digital Editions” folder in your user “Documents” folder:

c) Sign into your Dropbox account. For this demonstration I am using the web interface at http://www.dropbox.com. When you sign in the first time you will see three folders.

d) For this demonstration I am going to upload the e-book file into the “Public” folder in my Dropbox. Double-click the “Public” folder to open it. Click on the “Upload” button (it is the document icon with the blue arrow pointing up to the far left of the “Search Dropbox” search box). This brings up the “Upload to ‘Public'” dialog box.

e) Click the blue “Choose files” button. Browse to the “My Digital Editions” (Windows) or “Digital Editions” (Mac) folder and locate the e-book file you would like to upload as described above. Highlight the file and click “Open”. (If the upload appears stalled, click the “basic uploader” link and try again.) The file is processed and uploaded into (in this case) your “Public” folder. When the upload is complete you will receive this message:

Clear the dialog box by clicking “Done”.
f) You should now see the uploaded file in your Dropbox “Public” folder.

Since Dropbox stores your uploaded documents to the “cloud,” you can access them on any computer or device with an internet connection. This is how you will now access this e-book file and transfer it onto your mobile device.
Step 5: Launch Dropbox on your mobile device and open the EBSCOhost e-book in Bluefire Reader
a) If you haven’t already done so, download the appropriate Dropbox application version for your mobile device (e.g., Apple iOS or Google Android).
b) Launch Dropbox and sign into your account. You must have an active connection to the internet in order to access your Dropbox.


c) Notice the same folders in your mobile Dropbox as in the desktop or browser-based version on your computer. Remember that you uploaded your e-book to the “Public” folder. Tap “Public” to open this folder. There is your e-book!


d) Tap on the e-book file to download it to your device. Notice that this is a PDF file.


e) The e-book file download to your device appears to be complete. But notice that you don’t see anything other than the title on the screen. This is because the file is copy-protected and can only be opened by an application authorized to view Adobe Digital Editions copy-protected files. This is where Bluefire Reader comes into play. Tap the download button on the lower right of the screen (the icon with an arrow pointing down into a tray). This brings up a dialog that includes an “Open In…” button. Tap this button. You are now presented with one or more applications that may be able to open this file. Tap the “Open in Bluefire” button.


f) Tapping the “Open in Bluefire” button launches the the Bluefire Reader application. Notice your e-book, The Autobiography of Charles Darwin in the Library list. Tap on this title to open the book. Start reading!


Step 6: Remove an expired e-book from your device
As with EBSCOhost e-books originally downloaded to your computer, when the checkout period expires you will no longer be able to open the book on your device. At this point, you may choose to delete the expired file from the Library list in Bluefire Reader using the application’s Edit > Delete feature.
Special Note about installing Bluefire Reader and the Dropbox mobile app on an Amazon Kindle Fire tablet
I mentioned above that Amazon’s E-Ink Kindles currently do not support e-books copy-protected using Adobe Digital Editions. Consequently, it is not possible to read e-books downloaded from EBSCOhost on your E-Ink Kindle.
Amazon’s Kindle Fire tablets run a version of the Google Android operating system. Consequently, it is possible to install Android versions of both the Bluefire Reader application and the Dropbox mobile app on your Kindle Fire. However, getting these applications on your device requires a little extra tweaking. Follow these steps to prepare your Kindle Fire (part of these steps come courtesy of the Bluefire Reader blog):
a) Tap “Settings” on your Kindle Fire (it’s the icon that looks like a gear)
b) Tap “More”
c) Scroll down until you see “Device”
d) In the Device tab, set “Allow installation of Applications” to ON, and tap OK when you see the Warning prompt
e) Using the web browser on your Kindle Fire, go to http://www.bluefirereader.com/files/ and tap on BluefireReader.apk to download the Bluefire Reader application. Tap on this file to install the application on your Kindle Fire.
f) Using the web browser on your Kindle Fire, go to http://www.dropbox.com/android and download the Dropbox Android application. This app should be labeled Dropbox.apk. Tap on this file to install the application on your Kindle Fire.
g) Return to the instructions to continue with the e-book transfer procedure.
 In an earlier post, I walked you through the steps for downloading e-books from the Library’s EBSCOhost eBook Collections to your computer for offline reading. You will recall I pointed out that if the e-book is downloadable you would see this label in the title record:
![]()


 Step 2: Launch the HP ePrint App
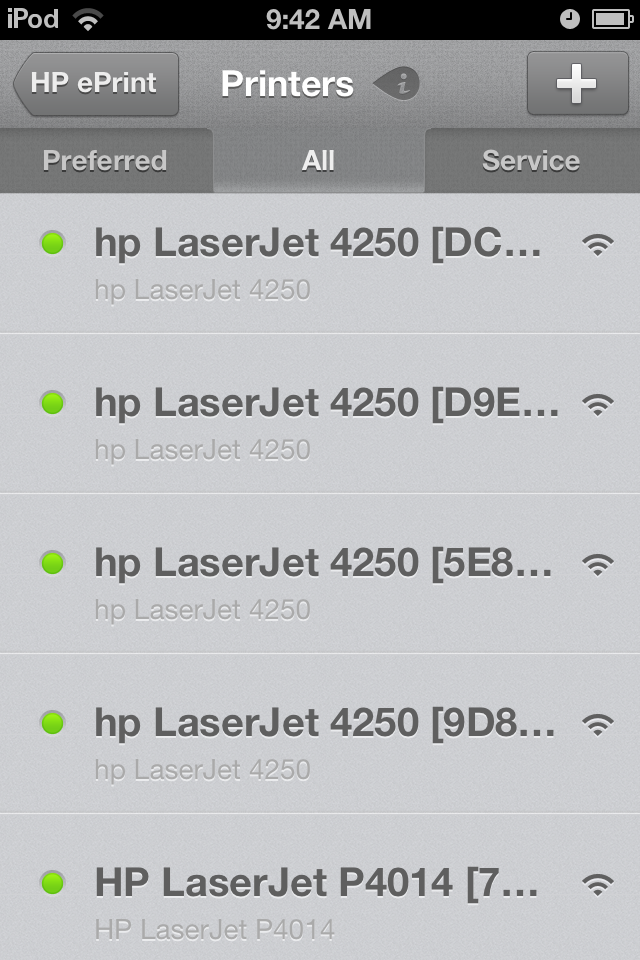 Step 3: Locate and Add a Printer
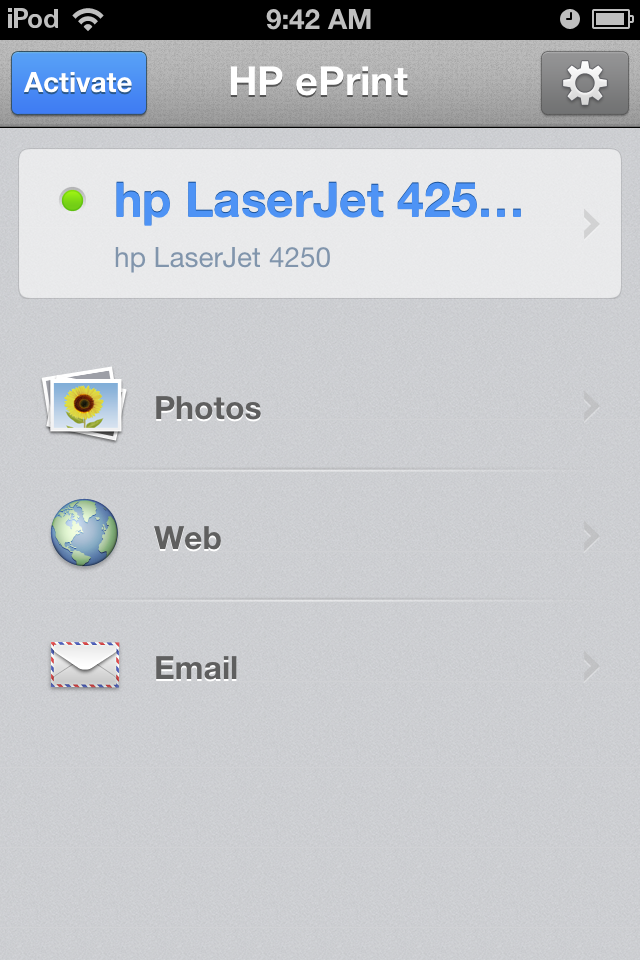
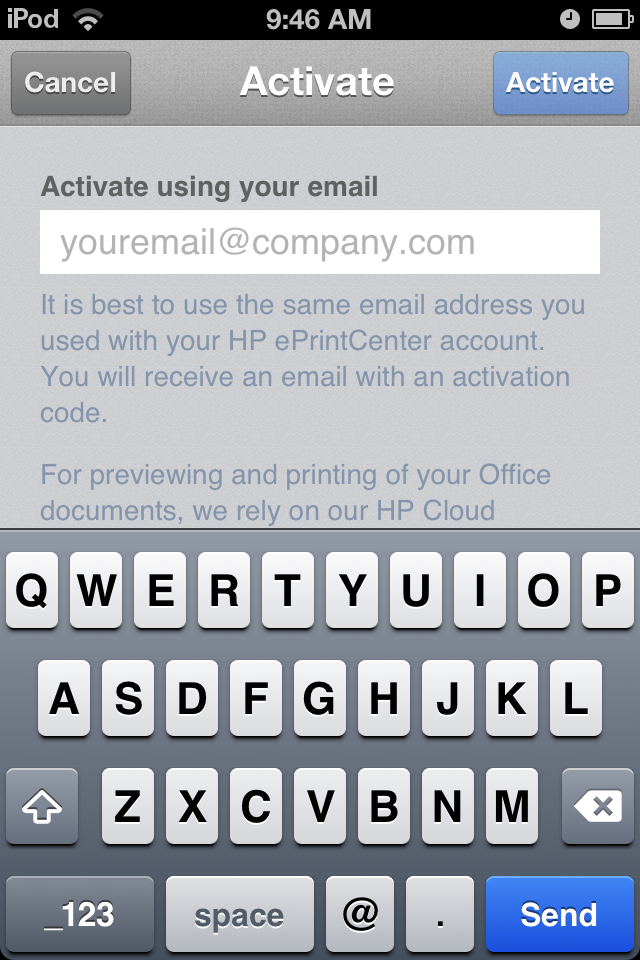
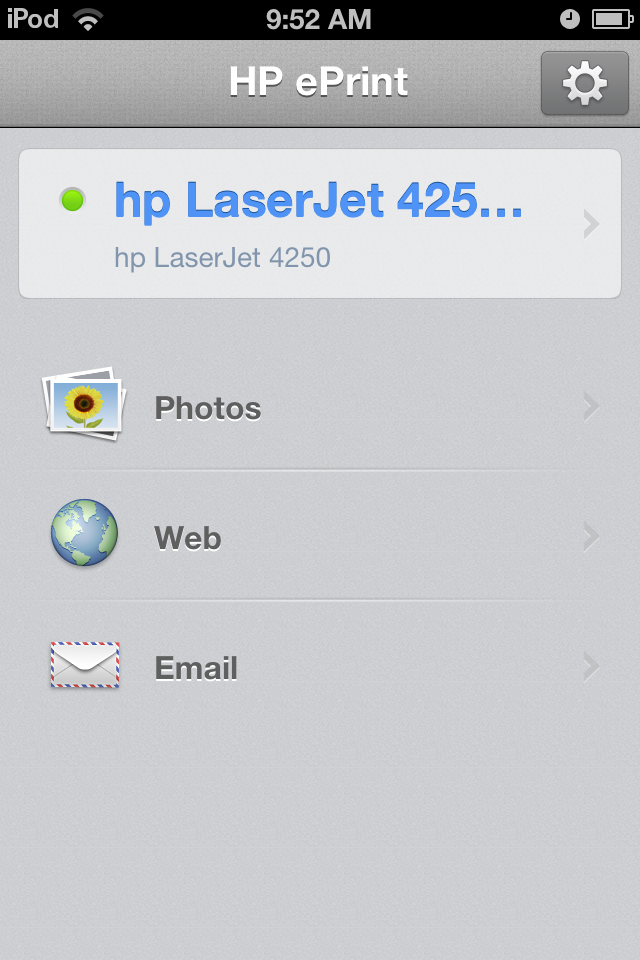
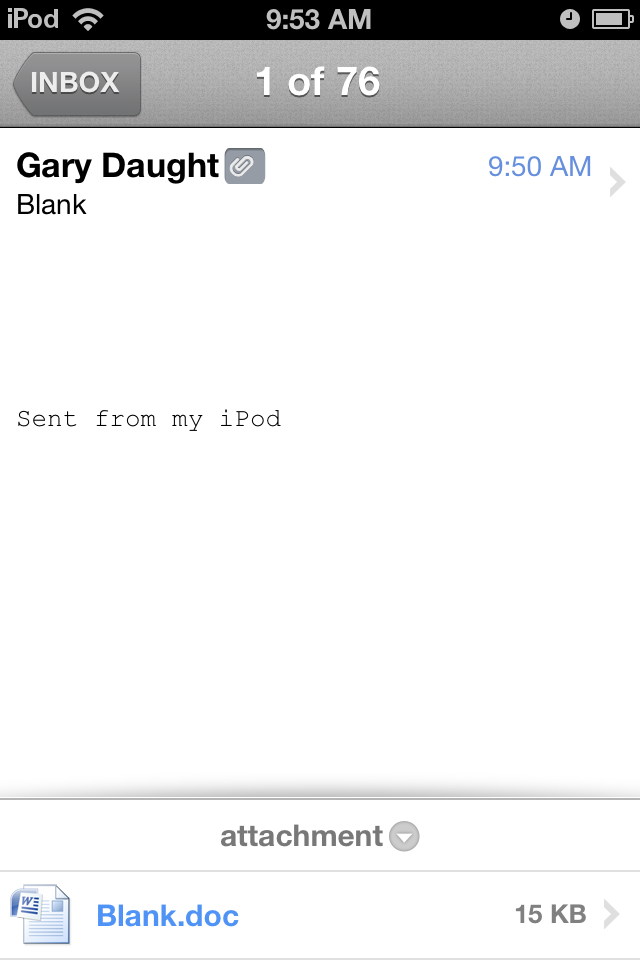
 order to print from an email you first need to login to an email account. The first time you select the Email option you will be presented with the screen (right) with several popular email service options, or select “Other.” This will take you to a screen where you fill-in email address and password, etc. You can add more than one account. Accounts will be remembered within HP ePrint.